
How to Deep Clean a Badly Neglected Toaster and Make It Look New AgainIf you have ever inherited a toaster that looks like it has not been cleaned in years — caked with grease, burnt crumbs, mysterious stains, and grime covering every surface — you know how overwhelming it can feel. The good news is that even the most neglected toaster can be brought back to life with a little patience, the right supplies, and some elbow grease. Here is everything you need to know to tackle even the worst-case scenario.Before you begin, always unplug the toaster and allow it to cool completely. Never submerge a toaster in water or use excessive liquid near the electrical components. Safety first, always.What You Will NeedDish soap or degreaser sprayWhite vinegarBaking sodaA soft toothbrush or small cleaning brushMicrofiber cloths or soft ragsCotton swabsA small bowlWarm waterPaper towelsA butter knife or flat-edged tool (for scraping hardened debris)Step 1 — Empty and Shake Out the Crumb TrayLocate the crumb tray at the bottom of the toaster and slide it out carefully.Hold it over a trash bin and tap it gently to dislodge loose crumbs and debris.Soak the crumb tray in warm soapy water for 10 to 15 minutes.Scrub it with a brush, rinse thoroughly, and set it aside to dry completely before reinserting.Step 2 — Remove Interior Crumbs and Burnt DebrisHold the toaster upside down over a trash bin or newspaper and gently shake it to loosen crumbs trapped inside the slots.Use a soft toothbrush to reach inside the slots and brush out any stubborn burnt pieces.Never use metal tools inside the toaster as they can damage the heating elements.Use a can of compressed air if available to blow out any remaining dust and debris from deep inside.Step 3 — Tackle the Exterior Grease and Stains
How to Deep Clean a Badly Neglected Toaster and Make It Look New Again
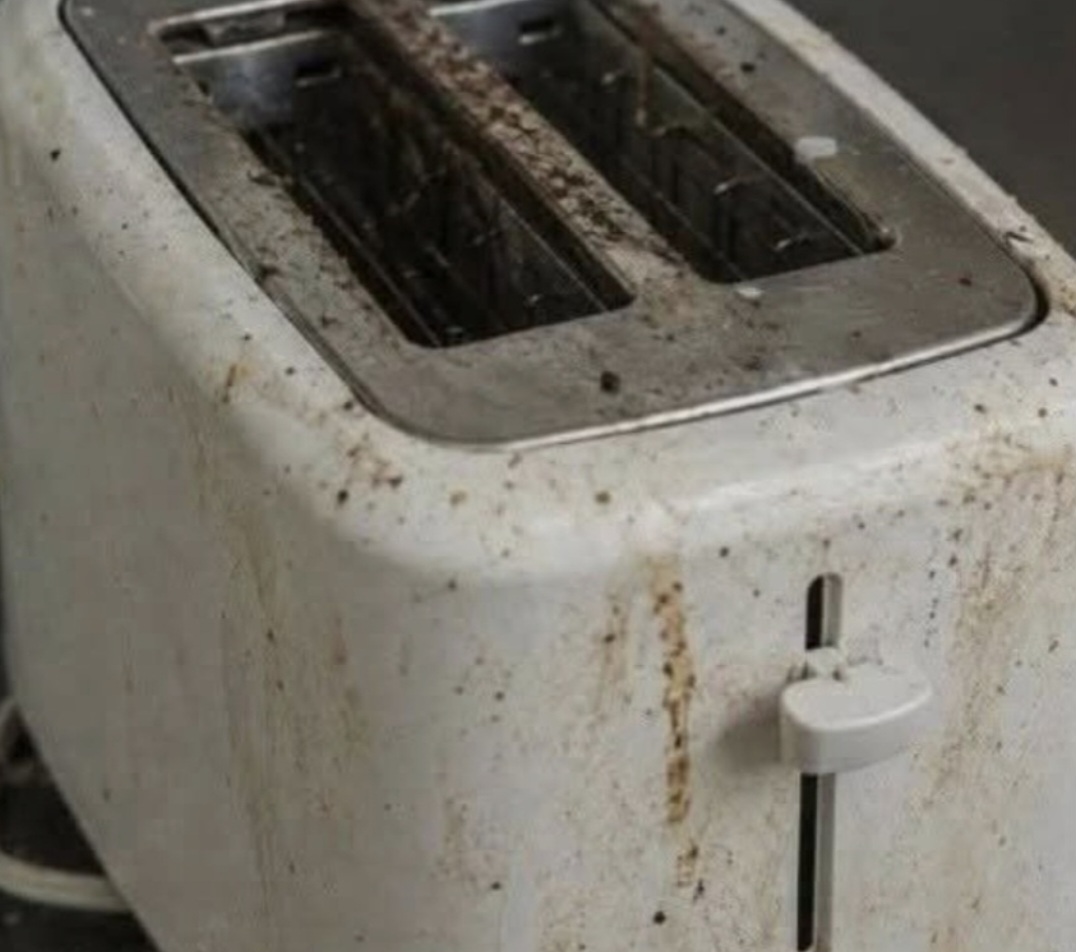
If you have ever inherited a toaster that looks like it has not been cleaned in years — caked with grease, burnt crumbs, mysterious stains, and grime covering every surface — you know how overwhelming it can feel. The good news is that even the most neglected toaster can be brought back to life with a little patience, the right supplies, and some elbow grease. Here is everything you need to know to tackle even the worst-case scenario.
Before you begin, always unplug the toaster and allow it to cool completely. Never submerge a toaster in water or use excessive liquid near the electrical components. Safety first, always.
What You Will Need
- Dish soap or degreaser spray
- White vinegar
- Baking soda
- A soft toothbrush or small cleaning brush
- Microfiber cloths or soft rags
- Cotton swabs
- A small bowl
- Warm water
- Paper towels
- A butter knife or flat-edged tool (for scraping hardened debris)
Step 1 — Empty and Shake Out the Crumb Tray
- Locate the crumb tray at the bottom of the toaster and slide it out carefully.
- Hold it over a trash bin and tap it gently to dislodge loose crumbs and debris.
- Soak the crumb tray in warm soapy water for 10 to 15 minutes.
- Scrub it with a brush, rinse thoroughly, and set it aside to dry completely before reinserting.
Step 2 — Remove Interior Crumbs and Burnt Debris
- Hold the toaster upside down over a trash bin or newspaper and gently shake it to loosen crumbs trapped inside the slots.
- Use a soft toothbrush to reach inside the slots and brush out any stubborn burnt pieces.
- Never use metal tools inside the toaster as they can damage the heating elements.
- Use a can of compressed air if available to blow out any remaining dust and debris from deep inside.
Keep reading — tap the button below to continue.