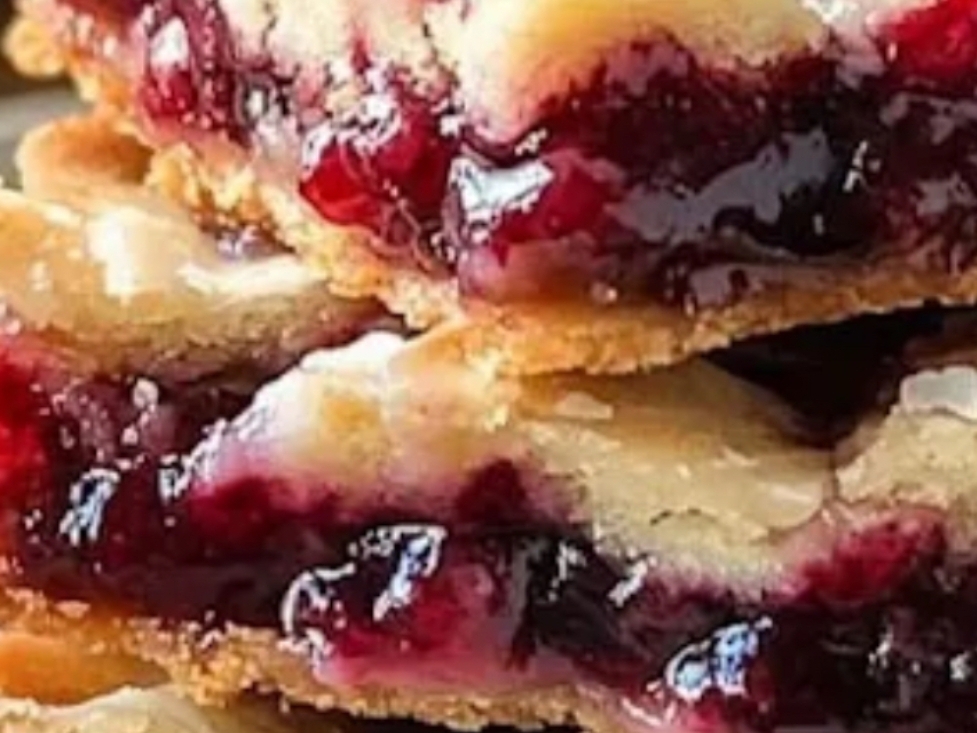
Cherry pie bars are everything you love about cherry pie—the buttery, flaky crust, the sweet-tart cherry filling, that glorious golden top—but made in a fraction of the time and served in perfect, portable squares. No rolling pins. No crimping. No filling bubbling over onto the bottom of your oven. Just pure, unadulterated cherry pie happiness in bar form.
And here’s the best part: one tray makes enough to feed a crowd. Whether it’s summer potlucks, holiday gatherings, or just a Tuesday when you need something beautiful, these bars deliver.
Why These Bars Work
- All the flavor of cherry pie – Without the fuss
- Buttery shortbread crust – That doubles as topping
- Perfect cherry filling – Not too sweet, not too tart
- Portable and shareable – No plates or forks required
- Make-ahead friendly – Actually improves by day two
- Crowd-sized – One tray feeds 12-16 people
The Ingredients
For the Crust and Topping:
- 2½ cups all-purpose flour
- ½ cup granulated sugar
- ½ cup powdered sugar
- 1 teaspoon baking powder
- ½ teaspoon salt
- 1 cup cold unsalted butter, cut into small cubes
- 1 large egg
- 1 teaspoon vanilla extract
- ¼ teaspoon almond extract (optional, but wonderful with cherry)
For the Cherry Filling:
- 2 (21 oz) cans cherry pie filling (or 4 cups homemade cherry pie filling)
- 1 tablespoon fresh lemon juice
- ½ teaspoon almond extract (optional)
- 2 tablespoons cornstarch (only if using homemade filling)
For the Glaze (Optional but Lovely):
- 1 cup powdered sugar
- 2-3 tablespoons milk or cream
- ½ teaspoon vanilla or almond extract
The Method: Simple, Beautiful, Delicious
Step 1: Preheat and Prep
Preheat your oven to 350°F (175°C). Line a 9×13-inch baking pan with parchment paper, leaving overhang on the long sides for easy removal. Lightly grease the parchment.
Step 2: Make the Crust Mixture
- In a large bowl, whisk together flour, granulated sugar, powdered sugar, baking powder, and salt.
- Add the cold butter cubes and cut in using a pastry blender, two forks, or your fingertips until the mixture resembles coarse meal with pea-sized butter pieces.
- In a small bowl, whisk the egg, vanilla extract, and almond extract (if using).
- Pour the egg mixture into the flour mixture and stir with a fork until the dough begins to come together. It will be crumbly—that’s perfect.
Step 3: Press the Crust
- Set aside 1½ cups of the crumb mixture for the topping.
- Press the remaining crumb mixture evenly into the bottom of your prepared pan. Use your hands or the flat bottom of a measuring cup to create an even, compact layer.
- Bake for 12-15 minutes, until just set and very lightly golden around the edges. The crust will continue baking later, so don’t overdo it.
Step 4: Prepare the Filling
- While the crust bakes, in a medium bowl, combine cherry pie filling, lemon juice, and almond extract (if using). Stir gently to combine.
- If using homemade cherry filling, stir in cornstarch to help it set.
Step 5: Assemble
- Spread the cherry filling evenly over the warm (not hot) crust.
- Sprinkle the reserved crumb mixture evenly over the cherry layer, covering as completely as possible. Some cherries will peek through—that’s beautiful.
Step 6: Bake
Bake for 30-35 minutes, until the topping is golden brown and the filling is bubbly around the edges.
If the topping browns too quickly, tent loosely with foil for the last 10 minutes.
Step 7: Cool Completely
This is crucial. Let the bars cool in the pan on a wire rack for at least 2 hours at room temperature, then refrigerate for 1-2 hours before slicing. Warm bars will fall apart. Cold bars slice cleanly.
Step 8: Glaze and Serve
If using glaze, whisk together powdered sugar, milk, and extract until smooth. Drizzle over the cooled bars.
Lift the bars out using the parchment overhang, place on a cutting board, and slice into squares. Wipe the knife clean between cuts for neat edges.
Pro-Tips for Bar Perfection
1. Cold Butter Is Essential
Cold butter creates a flaky, tender crust. If the butter softens while you’re working, pop the mixture in the fridge for 10 minutes before pressing.
2. Don’t Overwork the Crust
Mix just until combined. Overworking develops gluten and makes the crust tough.
3. Press Firmly
A loosely pressed crust will crumble when you cut the bars. Use the bottom of a measuring cup to compact it evenly.
4. Cool Completely Before Slicing
I cannot emphasize this enough. Warm bars = cherry lava. Cold bars = clean squares. Patience rewards.
5. Sharp Knife, Clean Cuts
Use a large chef’s knife and wipe it clean between cuts. For the cleanest edges, run the knife under hot water and dry it before each slice.
6. Make Them Your Own
See variations below—this recipe is endlessly adaptable.
Endless Variations
Blueberry Pie Bars:
Substitute blueberry pie filling. Add 1 teaspoon lemon zest to the crust.
Apple Pie Bars:
Use apple pie filling. Add ½ teaspoon cinnamon to the crumb mixture.
Peach Pie Bars:
Use peach pie filling. Add ½ teaspoon cinnamon and a pinch of nutmeg.
Mixed Berry Bars:
Use a combination of cherry, blueberry, and raspberry pie fillings.
Sour Cherry Bars:
If you can find sour cherry pie filling, use it and increase sugar in topping by 2 tablespoons.
Gluten-Free:
Use a 1:1 gluten-free flour blend. The texture may be slightly more delicate but still delicious.
Extra Almond Flavor:
Add ¼ cup sliced almonds to the topping. Toast them first for even more flavor.
What to Serve Alongside
- Vanilla ice cream – The classic pairing
- Whipped cream – Light and airy contrast
- Fresh cherries – For garnish and extra cherry love
- Coffee or tea – These bars beg for a warm beverage
Storage and Make-Ahead Wisdom
Room Temperature:
Store in an airtight container for up to 3 days. Bars with glaze should be stored in a single layer or with parchment between layers.
Refrigerator:
Store covered for up to 1 week. The filling sets more firmly when cold.
Freezer:
Wrap individual bars or the whole tray tightly in plastic wrap, then foil. Freeze for up to 3 months. Thaw in the refrigerator overnight. Add glaze after thawing for best appearance.
Make-Ahead:
These bars are actually better the next day. Bake a day ahead, cool completely, and store at room temperature or refrigerate.
Your Cherry Pie Bar Questions, Answered
Can I use fresh cherries instead of canned filling?
Absolutely! For fresh cherry filling: Combine 4 cups pitted fresh cherries, ¾ cup sugar, 2 tablespoons cornstarch, 1 tablespoon lemon juice, and ½ teaspoon almond extract in a saucepan. Cook over medium heat until thickened, about 8-10 minutes. Cool completely before using.
Can I use frozen cherries?
Yes. Thaw frozen cherries completely, drain excess liquid, and proceed with the fresh cherry filling instructions above. You may need a little extra cornstarch.
My bars are crumbly. What went wrong?
Either the crust wasn’t pressed firmly enough, or they were sliced while still warm. Next time, press harder and exercise patience.
Can I double this recipe?
This recipe fits a 9×13 pan perfectly. For a larger crowd, make two batches.
Can I use a different fruit filling?
Absolutely! This recipe works beautifully with any pie filling—apple, blueberry, peach, raspberry, or mixed berry.
Do I have to use almond extract?
Not at all. It’s optional but classic with cherry. Substitute vanilla if you prefer, or omit entirely.
These Cherry Pie Bars are proof that the best desserts don’t have to be complicated. They just have to be delicious. With a buttery crust, sweet-tart filling, and golden crumb topping, these bars deliver everything you love about cherry pie in a fraction of the time.
Make them for your next potluck. Make them for a summer barbecue. Make them just because it’s Tuesday and you deserve something beautiful.Categories